By Ron Polimeni
With no railroad of my own, I participate by assisting my friends who do have layouts. I’m ever grateful for being included in the operating sessions and enjoy contributing in whatever ways I can. The pandemic has brought this home. With no operating sessions, how do I stay involved and connected? By continuing to do as I’ve done all along. I have my shop.
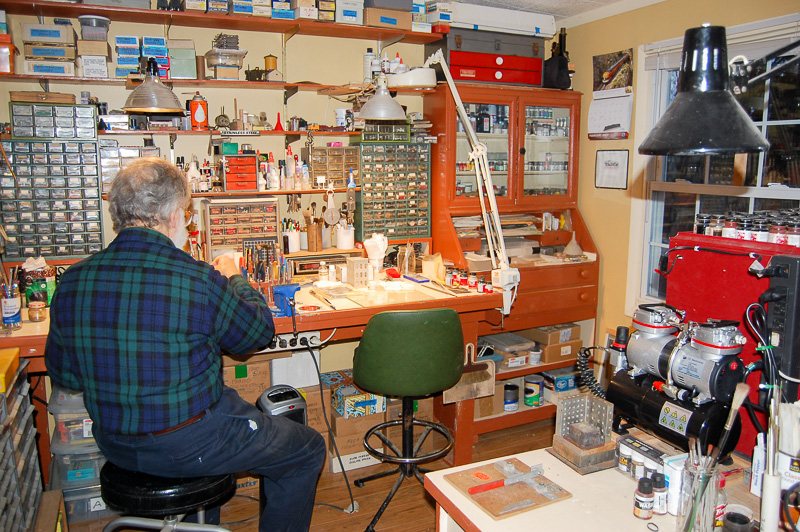
I have my tools, my imagination, and my skills. Having projects from my friend’s layouts in the works on my bench allows me to feel connected. When operating sessions resume once again, I’ll have something to show for my time in isolation. Here are a number of the projects I’m currently involved in.
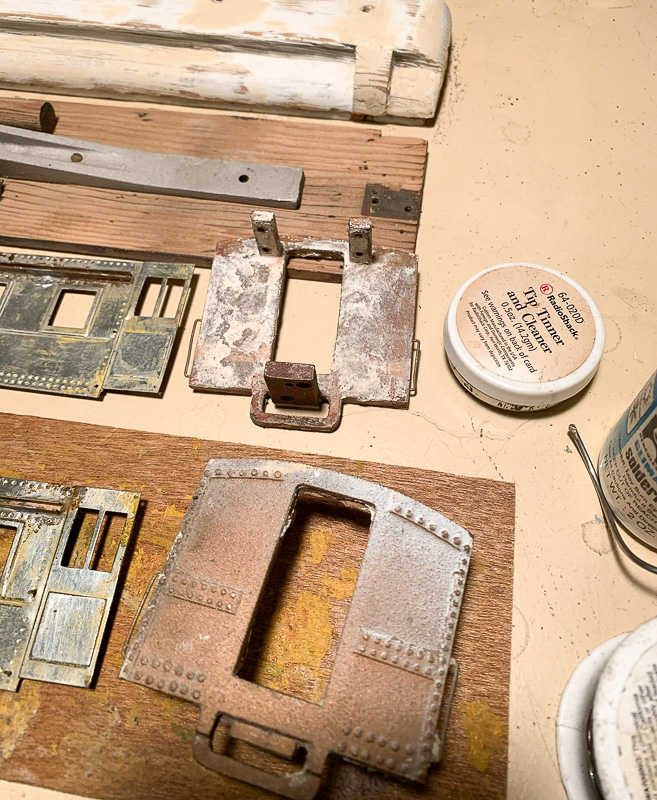 These passenger cars are O scale items for Jay Beckham’s railroad. Jay discovered 13 ancient Walthers passenger cars at a flea market for cheap. The kits had never been completed and were badly deteriorated. Especially the wood parts. I offered to do what I could to resurrect the old cars, flea market finds being of interest to me. It took a bit of doing to figure out how to disassemble the cars as they were pinned together.
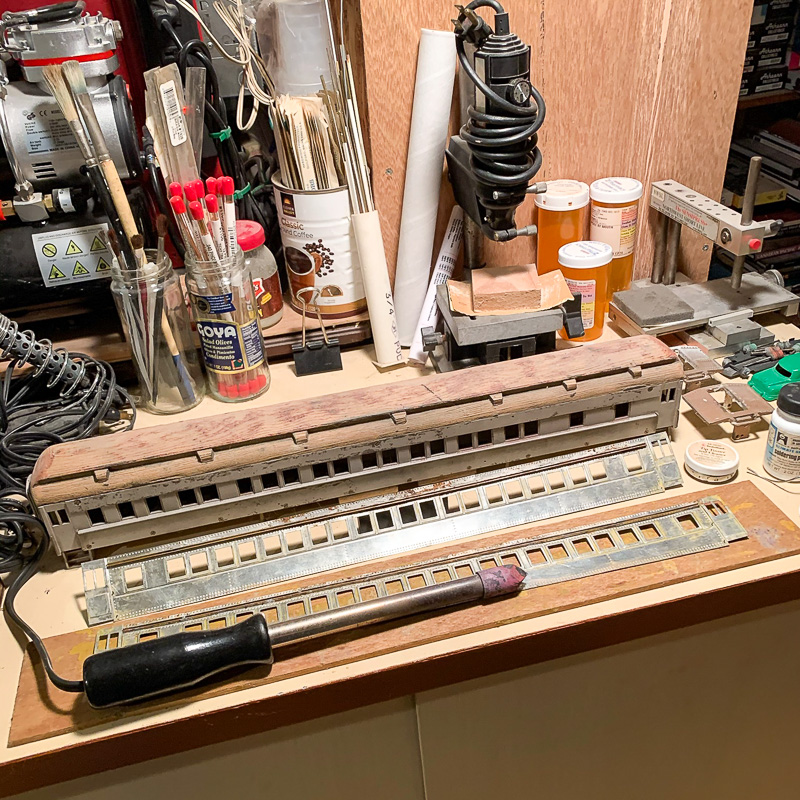
Jay wanted the roofs removable. To that end, the stamped steel sides had to be reinforced by soldering brass channel just below the top edge. The most difficult part, however, is restoring the deteriorated wood. I’ve been using wood putty to fill in the shrinkage in the grain and will probably work with painters tape to simulate tar paper. The monster soldering iron is on loan from Bob Winkler. Bob was a plumber in a past life. He loaned me the iron with the comment that he hadn’t used it in 50 years and didn’t expect he’d be needing it in the near future. Turns out it’s ideal for the job.
Disassembling the car was a problem. I couldn’t figure a way to remove the screws that held the roof to the car ends without drilling through the floor. Then, on close inspection, I discovered two pins in the cast ends which held the ends in alignment with the floor. Removal of the pins allowed the floor to be slid to the side allowing access to the screws. Essentially the entire car was held together with pins. The stamped sides being attached to both the roof and floor with pins.
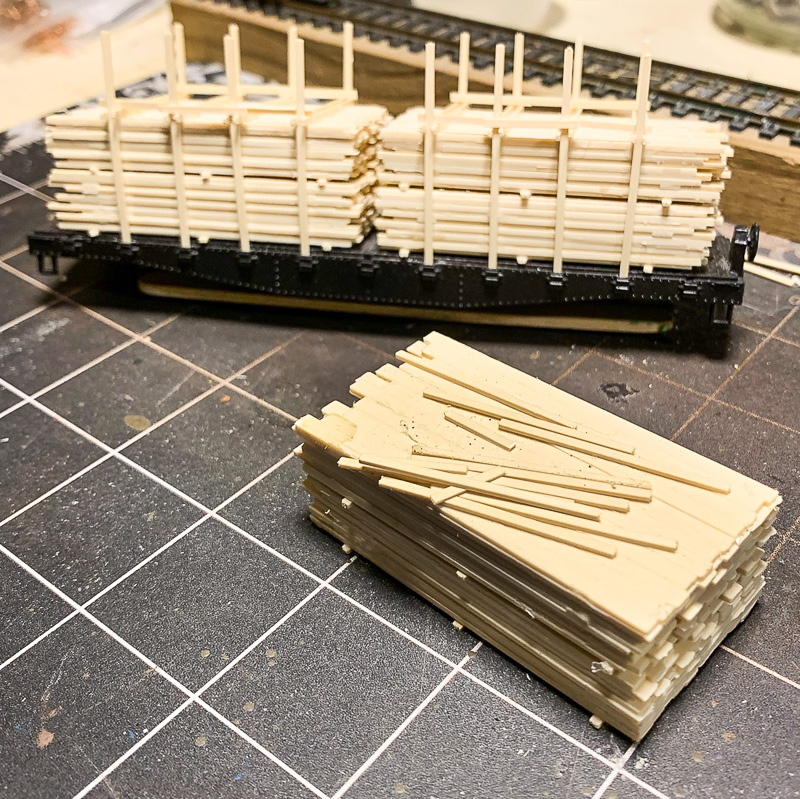 I’d always admired the open flat car lumber load as featured on John Allen’s Gorre & Daphetid. When Owl Mountain Models brought out their version of such a load I thought it would be worth a try. Bob Winkler has a sawmill in the town of Coryville on his Central Maryland RR. So far the mill has been shipping their lumber in boxcars and ties in gondolas. Now they can begin shipping lumber on flat cars. The load is modular, in that it can be constructed in several variations. It can also be built so as to fit several different applications and be removable. I constructed this one to fit the Athearn 40′ ‘blue box’ flat. It still needs to be painted and given a wash to help the individual boards to stand out. A simple fun build that will add a great deal to the layout.
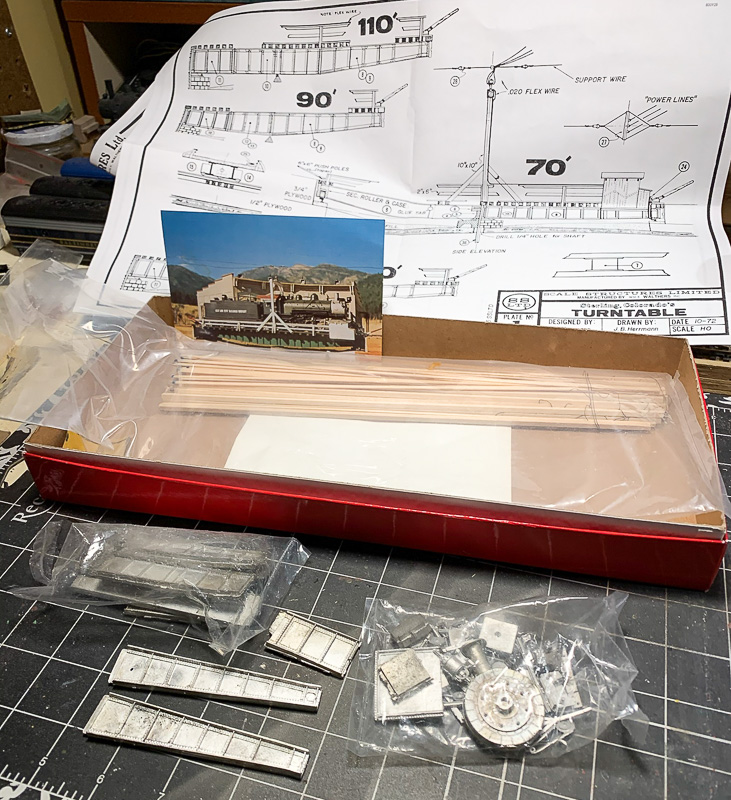 Bill Reynolds needed a turntable for turning helper engines on his last layout. I had tried to modify an Atlas turntable to do the job but the mechanism wasn’t up to the task. Bill had a kit, however, for a turntable that would be ideal for the job. Never having built a turntable before, I volunteered for the task. It appears to be an interesting kit. The pit is to be constructed of several layers of plywood. Different diameters of pit opening and thickness of wood being used to create the step for the ring rail. I haven’t begun this project yet but am looking forward to it.
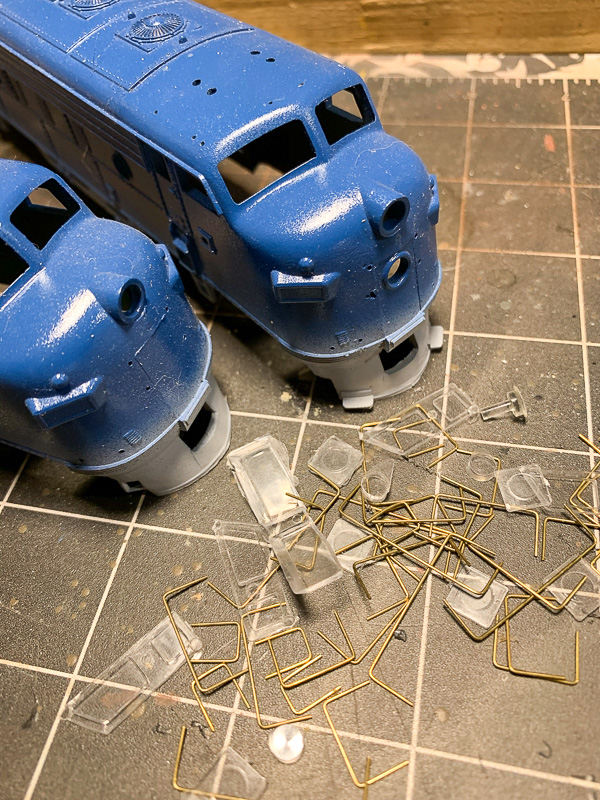 Bob Winkler has a set of locomotives he set up with a pair of old AHM FT cab unit bodies. I’m not sure what the chassis are but they run beautifully. They’ve always irritated me though as the wheelbase is wrong for the FT. To that end, I decided to fit out a pair of F7 shells to replace the FT shells. The stirrups on the pilot of one shell were broken. Rather than attempt a repair of the stirrups I thought it would be interesting to install steps on the pilot of one of the locomotives. Both will be fitted with Walthers “diesel dress-up” kits. Unfortunately, I have to strip these shells once more as I didn’t get my mix right when spraying the Scalecoat blue and it developed a case of orange peel.
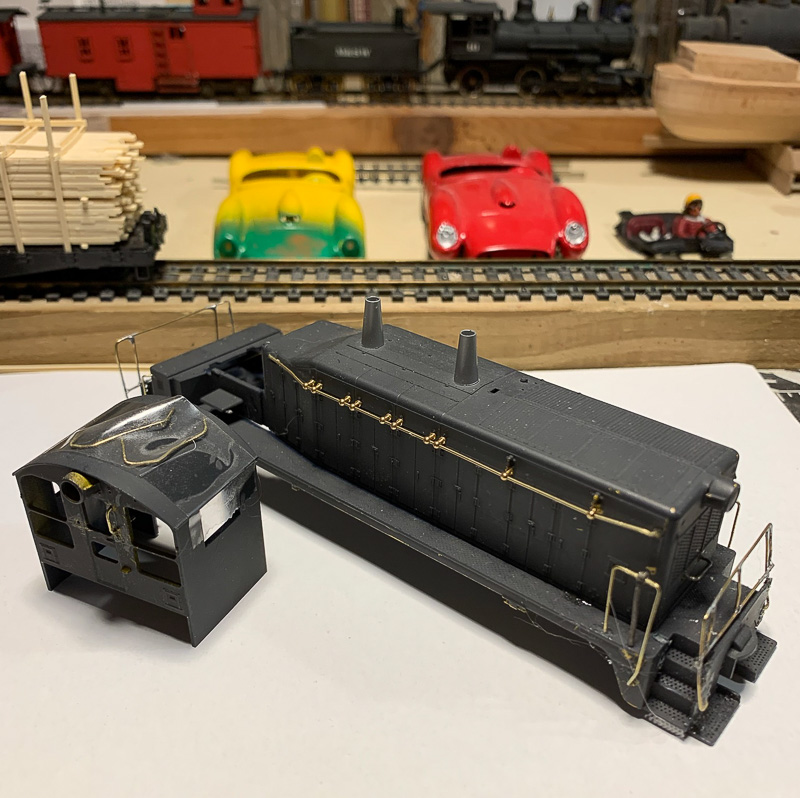 The NW-2 is another project awaiting attention in the spray booth. It will be painted and lettered for Bob Winkler’s “Central Maryland”. Bob has a thing for EMD switchers. The handrails are his handiwork and are essentially scratch built as the locomotive shell had none.
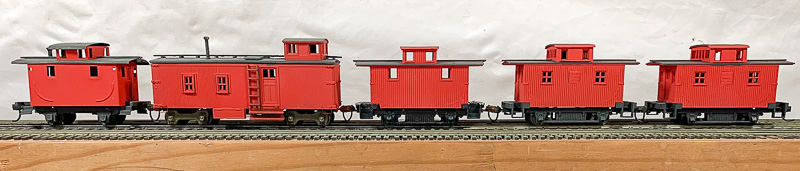 Alex has expressed interest for some time in building a layout based on a “spaghetti western” theme. Think Clint Eastwood and John Olson’s ‘Mescal Lines’. To that end, I’ve turned over my MDC ‘old-time” equipment to him. At present, I’m working on his caboose roster. Adjusting coupler height on the bobber cabooses is proving to be a bit of a project.
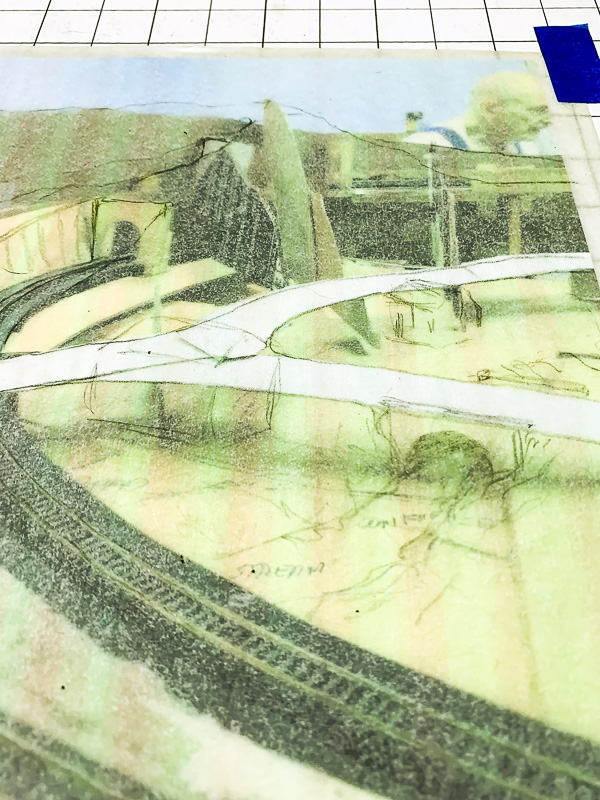
And then there’s my drawing board.
Currently, I’m working on visualizations for the scenery on the turn-back loop by the entrance to Don Florwick’s P&SP Railroad. I took some pics when last I was there before the pandemic struck. We had mocked up some ideas using cardboard. I’m using the pics as a guide in developing the scenery ideas. The sketches will eventually be filled in with colored pencil.
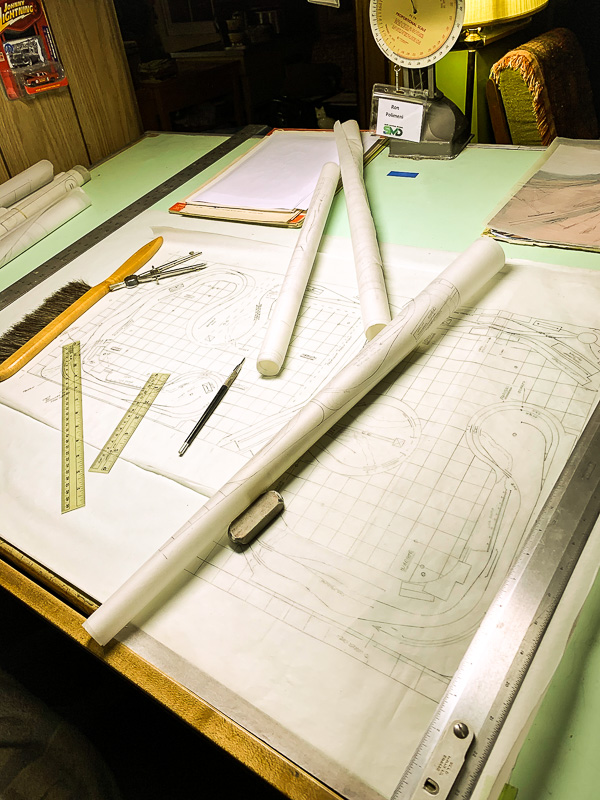 Track planning is a hobby within the hobby for me. Superintendent Jerry Skeim is in the process of constructing a large, double-deck On30 layout. Jerry and I have enjoyed working together as a crew during operating sessions. Talking trains, one thing led to another and Jerry asked if I could offer some thoughts on his project. Beware of what you ask for.
Suffice to say, I’m busy. Despite not having a railroad of my own, I’m able to stay involved, active, and connected in the hobby through my friends.

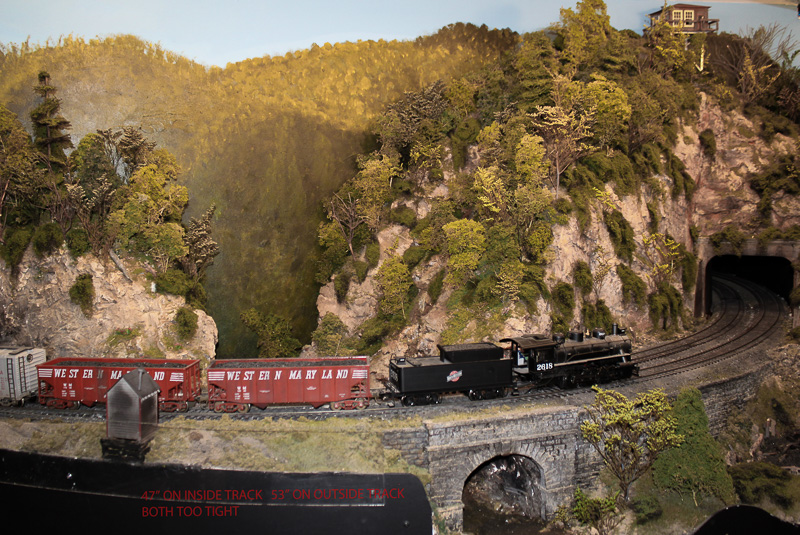 The worst area (above) is that area previously known as Warren’s Gap. The inside track was 49” radius and the outside track 53” radius. So, I removed the track and roadbed and rebuilt that area with the inside track at 60” and the outside track at 64”.
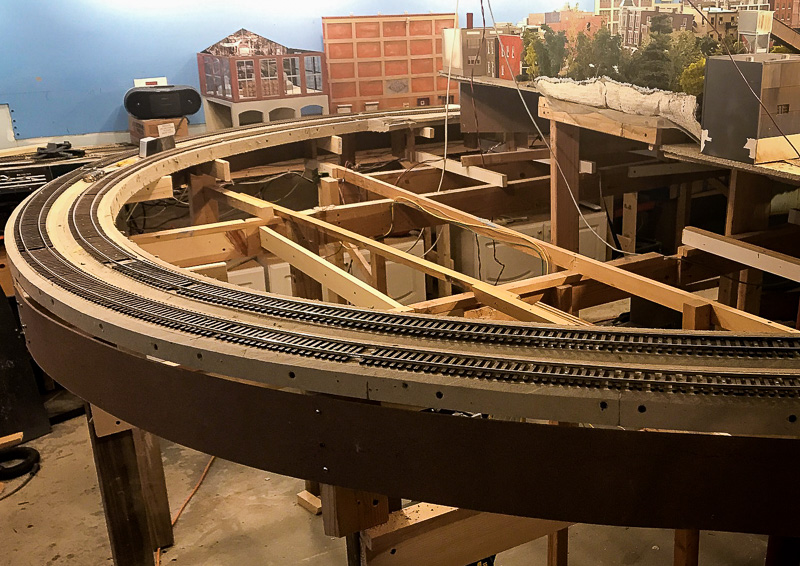 This will become New Freedom with a small town (above), a business or two, plus the PRR passenger station.
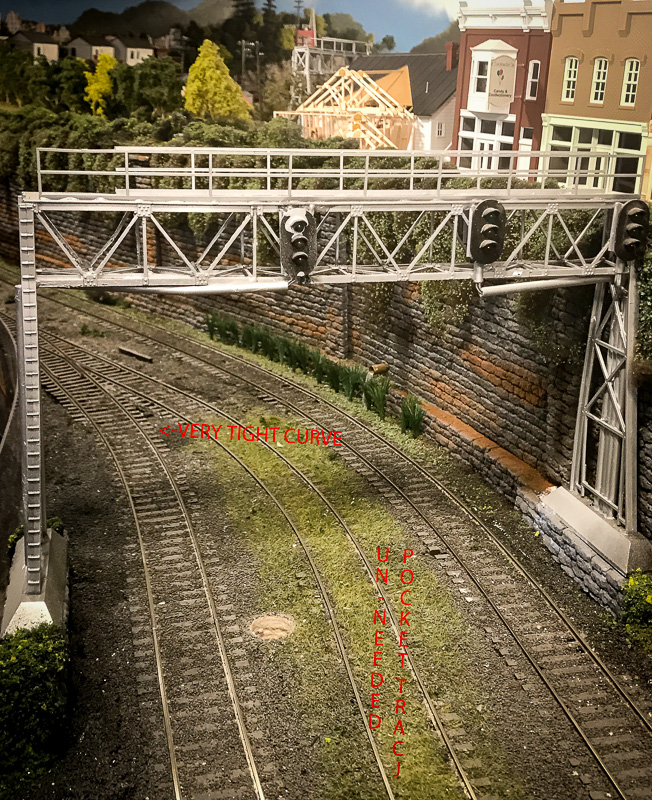 A second area (above) had a pocket track leftover from South Shore days and because of the switch and pocket track, there was an “S” curve of about 48” radius.
 I removed the switch and the pocket track
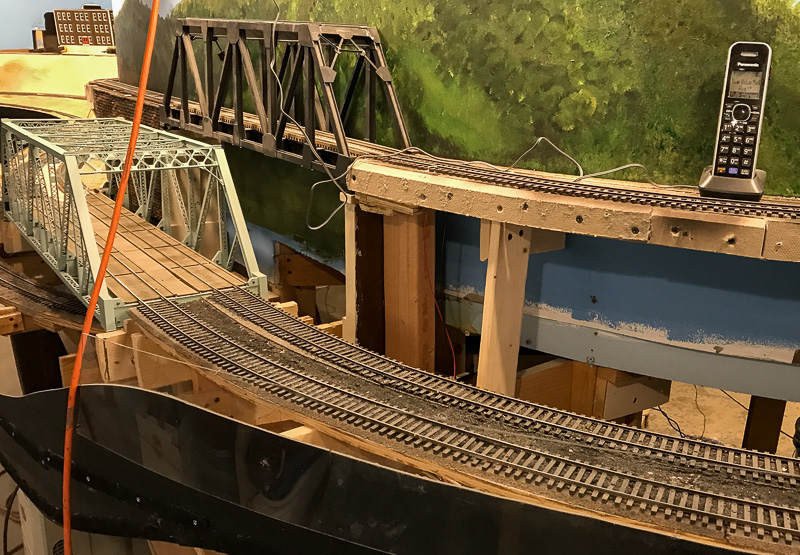 Another major area that requires widening (above) is the area entering Baltimore. It includes an Atlas double track truss bridge. The approaches to the bridge in both directions varied from 48” to 60”. I am still in the process of removing the old track and extending the benchwork (below) about 3-4 inches to allow for 60” and 64” standards.
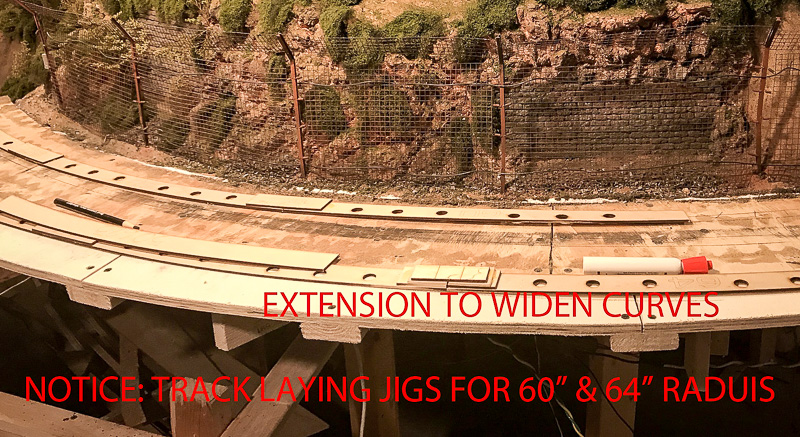
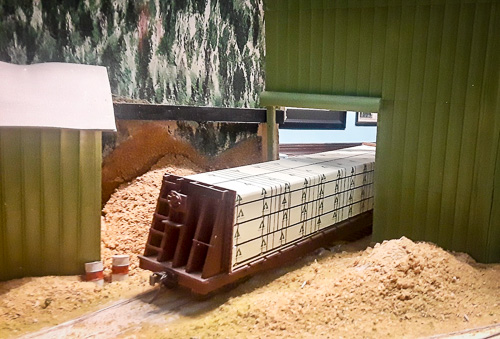
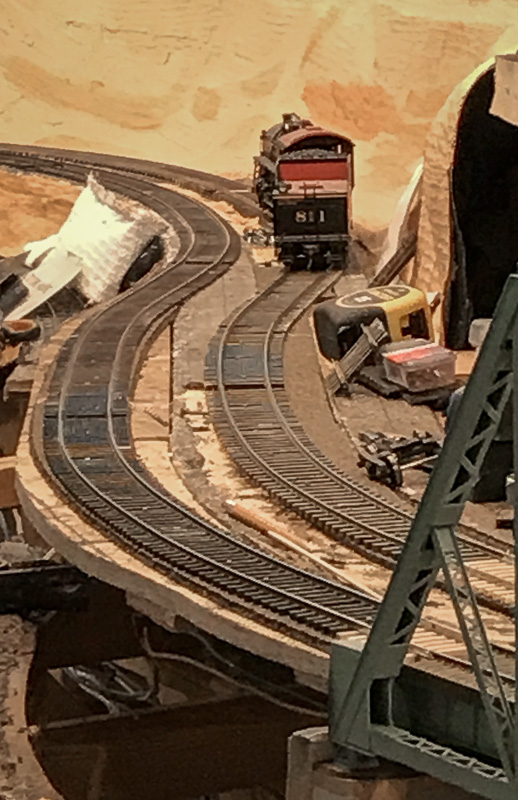 I am not sure if the bridge will still fit so the tracks at the end of the bridge (left) may need to be re-laid to 60” radius. The photo shows the tracks before being enclosed by a tunnel.
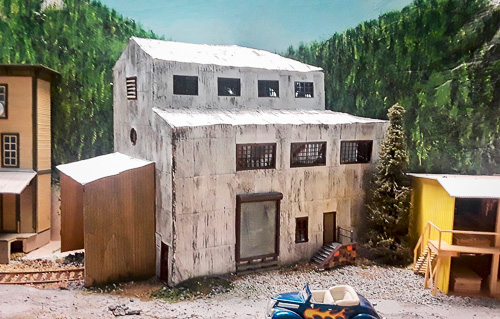
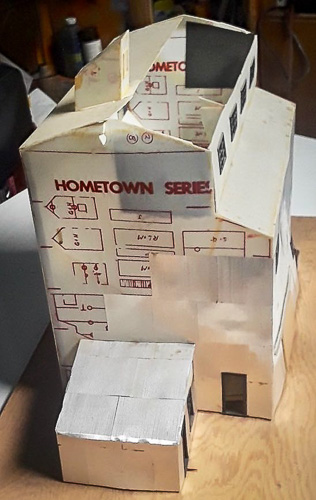 Rummaging through my stuff, I came across a Broadway Limited Cannery kit. I had three of these at one time since they are very flexible. The kit has material to build a factory with corrugated sides and roof, using plenty of heavy styrene sheets, factory windows, and aluminum corrugated siding strips.
 Rich Randall has been working on an O scale