2025 South Mountain Division NMRA Mini Con
Sponsored by Mainline Hobby Supply
South Mountain Division (SMD) Mini Con/Clinics Day is this coming Saturday, 05 April 2025. Doors open at 9:00 AM at the Blue Ridge Mountain Fire Hall; 13063 Monterey Ln, Blue Ridge Summit, PA 17214. The event is FREE! Plenty of parking along side the fire hall. Food on-site. On going presentations throughout the morning are informal. Sit and chat with clinicians. Learn something new. Meet new friends. Bring the family.
Current presentations:
- Jeff Adams – Proto Loco Tuneup
- Frank Benanti – Layout Legacy (What about when you’re gone)
- Jane Clarke – Scenery using Natural Materials
- Pete Clarke – Timesaver Module Operations
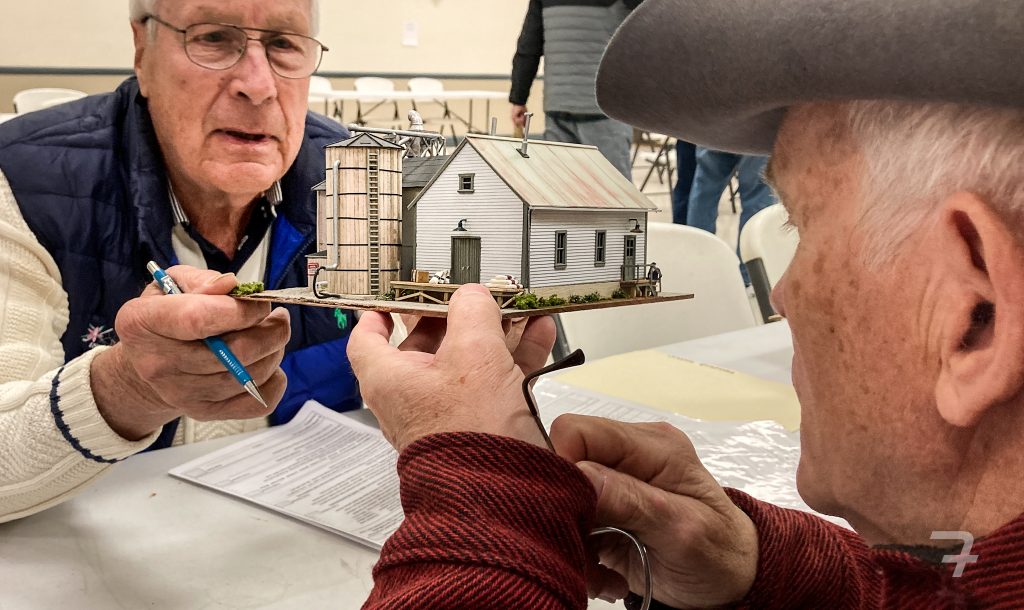
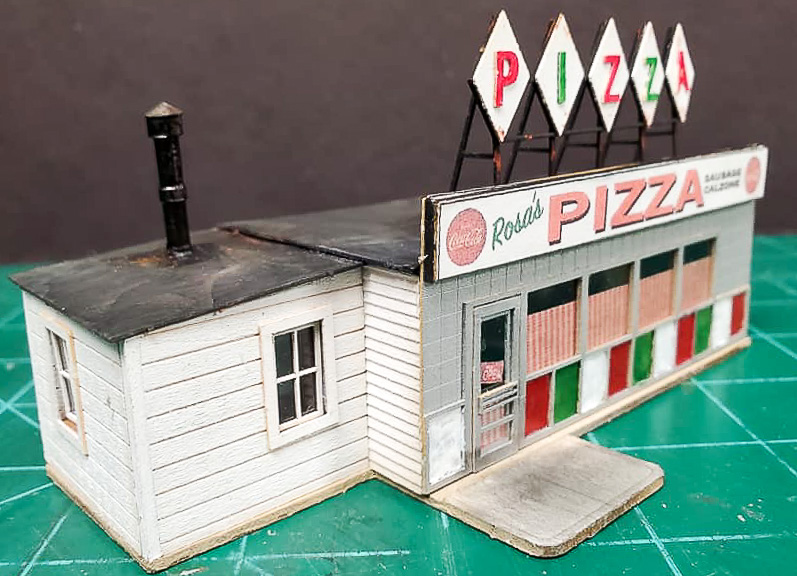
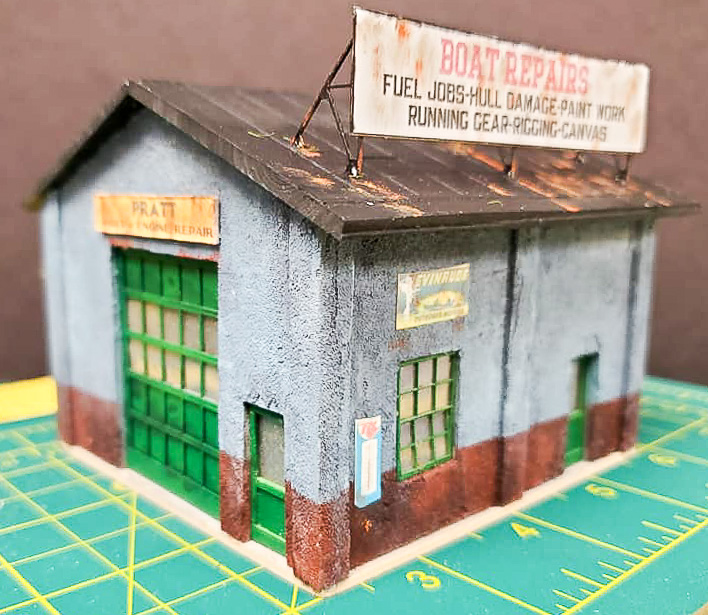
- Larry Daily – Prototype Building from Photographs
- Dan – Railroad Slides
- Andrew Dodge – Evergreen Trees
- Bob Johnson – Rolling Stock Tuneup
- Steve King – Operations 101
- Bill Martz – Make and Take ( Priority to 16 and under)
- Alex Poliemi – Fast Clock Operations
- Dottie Poliemi – Painting Hydrocal and Other Structures
- Ron Poliemi – Craftsman Kits and Budget Model Railroading
- John Pursell – Kit Bashing and Mingling for Better Structures
- Bill Reynolds – All About Tortoise Machines
- Travers Stavac – Layout Design for Operations
Bonus for Attendees…
Private layout open houses on Sunday. All Saturday attendees may request addresses for several area layouts. This bonus is for Mini Con attendees only. Request details at the registration table in the hall.
- Theme: N scale heavy coal hauler based on Clinchfield / N&W
- Scale: N
- Features: TO/TT Simulation
- Host: Steve King
- Location: Fayetteville, PA
- Time: 1:00 to 4:00 PM
The Virginia Midland Railroad is a large N scale layout that features heavy coal operations with just enough general freight traffic thrown in to make things interesting for the operators. The Virginia Midland brings back memories of the N&W (post Virginian merger) and features long trains of hoppers, multi-engine power consists, and even independently controlled helpers. Even if you are not personally into heavy freight drag operations this layout is worth seeing and fun to operate. This is probably one of the largest N scale layouts in the area. All operations are controlled using CVP (Easy DCC) wireless throttles. Crews will be trained in the basics of train order/ time table controlled railroad operation.
- Theme: East Broad Top Railroad
- Scale: HOn3
- Features: Narrow Gauge Railroading
- Hosts: Jane & Pete Clarke
- Location: Damascus, MD
- Time: 1:00 to 4:00 pm
Visit the fully scenicked and operational East Broad Top Railroad without driving to Orbisonia PA. On the Clarke’s basement sized rendition, steam powered brass locomotives haul coal in HOn3 hoppers from the mines in Robertsdale PA to the coal cleaning plant and interchange with the PRR in Mt. Union PA. For added interest, car loads of ganister, iron ore, lumber, agricultural products, and coal move along the Shade Gap Branch between Orbisonia and Neelyton PA.
The railroad was featured in the publication Great Model Railroads. Trains run on TT/TO with a fast clock. Control is Digitrax DCC using radio throttles. Car cards, timetable, instructions, and an operator’s guide let guest operators know how to run trains.
- Theme: Moving to a Shelf?
- Scale: HO
- Features: Deconstruction 101
- Host: Frank Benenati
- Location: Damascus, MD
- Time: 1:00 to 4:00 pm
Maryland Junction is a 14 by 20 foot room sized modular layout that was built to travel. It has crossed the pond once since it’s 1999 birth. The railroad reached it’s zenith in 2022 when scenery was 95% complete. It’s been in steady decline since the owner began preparation for the move to a smaller living space. Towards that end, individual structures and dioramas have been removed and are being sold off along with excess rolling stock and locomotive power. There has been some track abandonment and removal. Deconstructions/salvage/sale plans hinge on future hobby space limitations.
- Theme: Central Maine Railroad
- Scale: O Proto 48
- Features: Custom Built Models
- Host: Andrew Dodge
- Location: Olney, MD
- Time: 1:00 – 4:00 pm
Watch steam trains move freight cars between Belfast and Camden and onto the car float/tug operation at Camden Junction. Check out the passenger side-2 wheeler that operates between Deer Island and Camden Junction. Visit this museum quality O scale railroad featuring scratch built locomotives, rolling stock, hand laid track, ships, and structures. There’s also more than a thousand hand-made trees and an operating rotary snowplow. The railroad is featured in the 2025 publication Great Model Railroads.
The railroad is powered by NCE DCC and uses NCE hand held radio throttles.
As a bonus, you can also view a small “portable” HO DC powered logging railroad featuring geared engines and a switchback.
- Theme: Central WV short line operating between the B&O and WM.
- Scale: HO
- Features: Geared Locos & Creative Staging
- Host: Bob Johnson
- Location: Jefferson, MD
- Time 1:00 to 4:00 pm
Visit West Virginia in the spring/summer of 1954 and be inspired by the West Virginia Midland Model Railroad. Coal, limestone and lumber are the main source of revenue with a mix of freight from local business. The Midland connects with the B&O at Holly Junction and the Western Maryland at Cherry Falls. The interchanges (staging) represent Grafton (B&O) and Laurel Bank (WM). Midland’s main yard and shop facilities are located in the twin towns of Webster Springs and Cherry Falls, WV.
The main body of the Midland is 12’ x 16’ with an additional 65 feet of around-the-wall running. The scenery is about 95% complete and features discrete scenes that are visually separated by viewing angles and scenic view blocks such as hills and, numerous trees.
- Theme: Milwaukee Road, Avery ID
- Scale: O5w
- Features: 40’x34’ Railroad Under Construction
- Host: Rich Randall
- Location: Gettysburg, PA
Visit Avery, Idaho in the fall of 1973 and board the O scale Hiawatha for the trip over the Bitterroot Mountains to Montana. See first hand the challenges of building a mountain railroad. The single track main line is operational and powered by NCE DCC. Avery yard is the central focus of the railroad; although much compressed trackage generally follows the prototype. Several scratch built landmark buildings that are nearly finished will capture the essence of the area. Five industrial areas with sidings are also under development. Scenery has been started in several places. It is anticipated that one day the railroad will feature through freights, through and local passenger trains, a branch line, and blocking of cars at Avery.