 By Tom Fedor
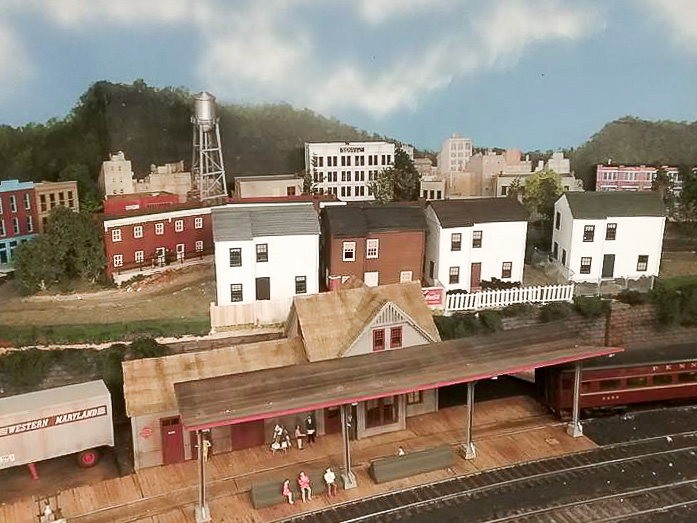
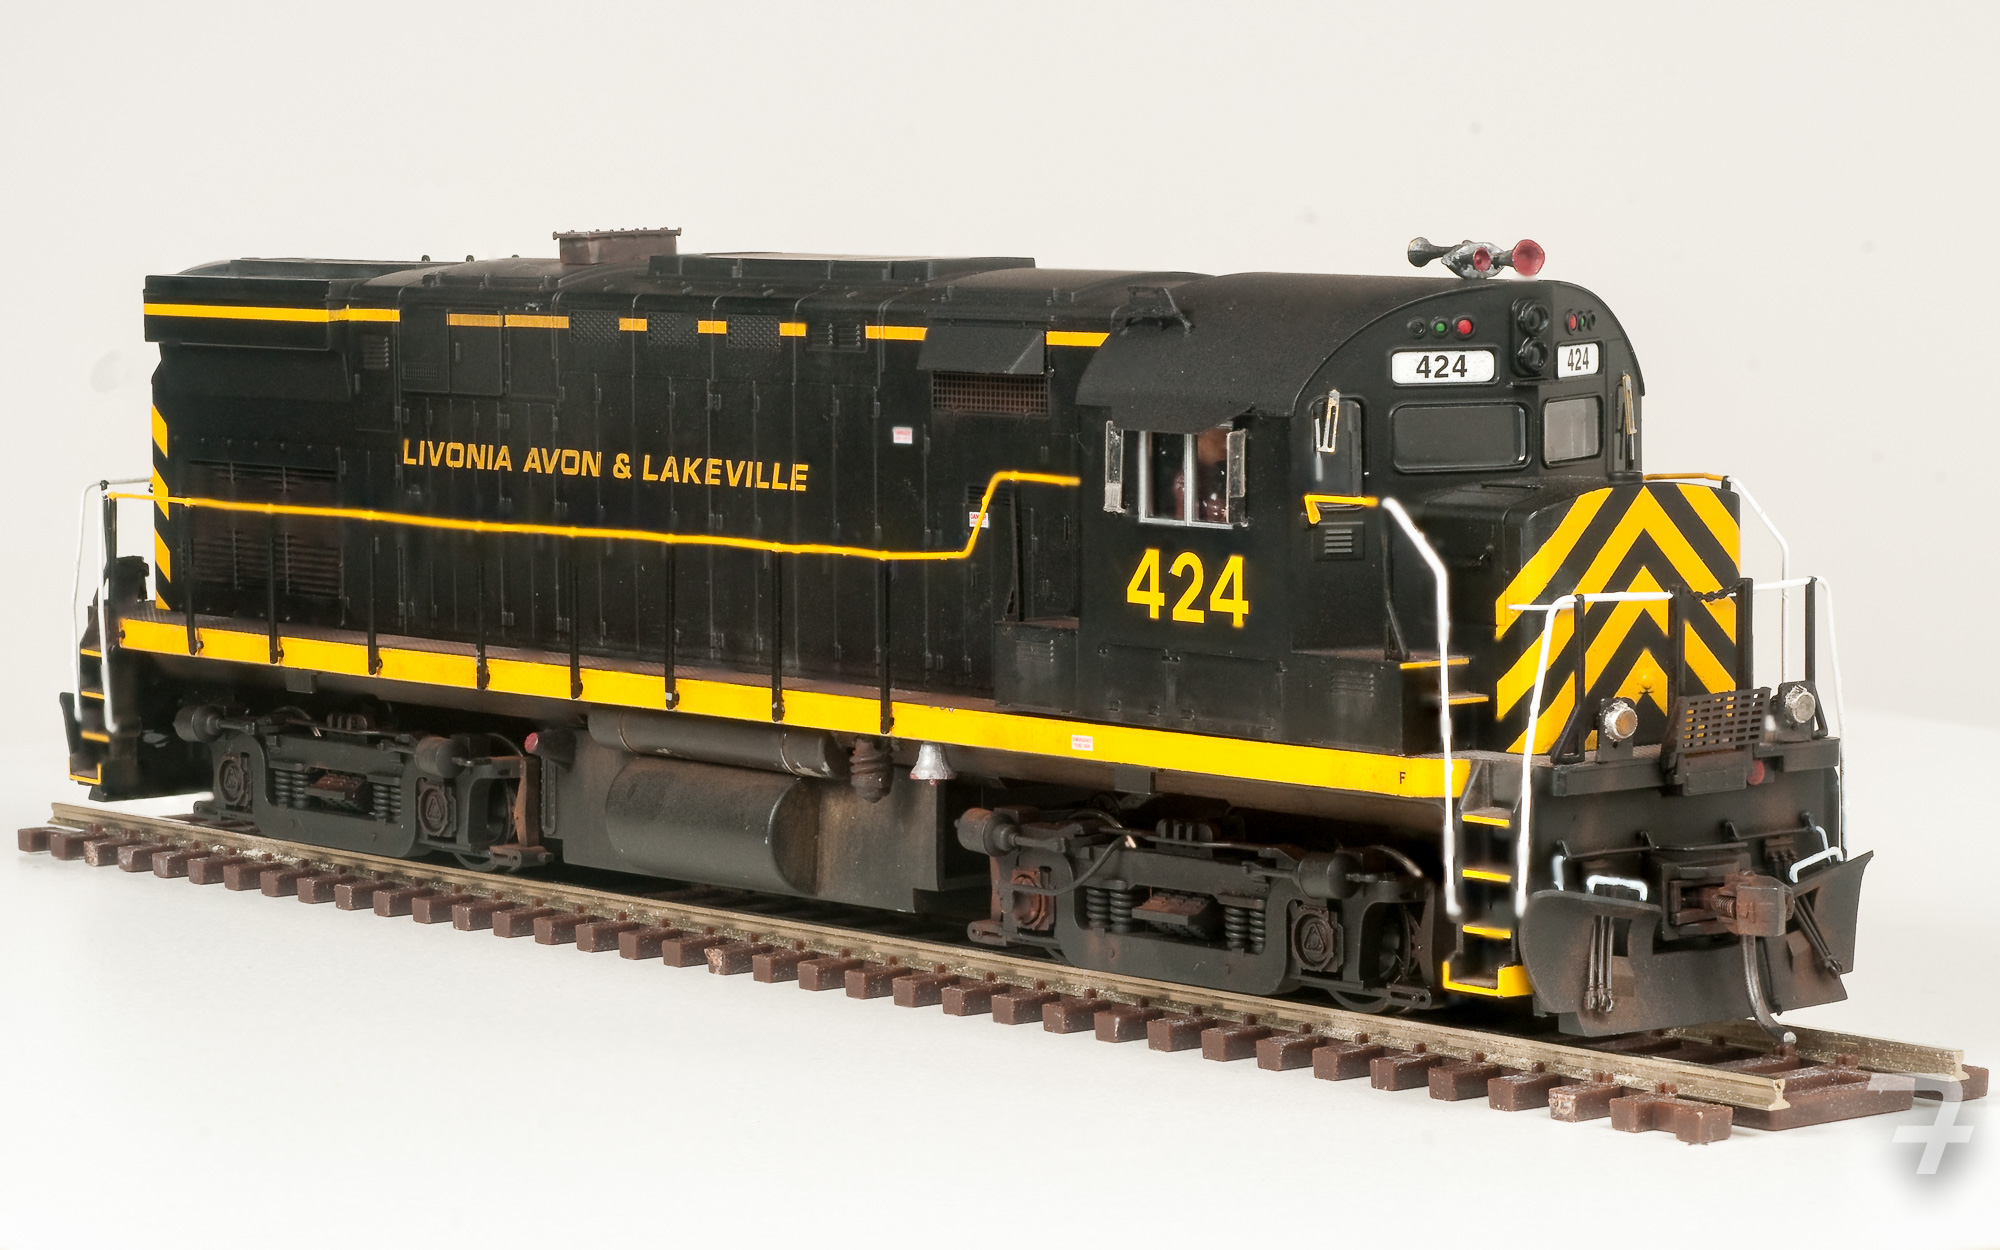
This summer I finally completed detailing and upgrading my Atlas Classic HO scale C-424 Phase 2 Locomotive, modeled after the Livonia Avon & Lakeville’s (LA&L) diesel number 424.
Atlas Model Railroad Company released the model in 2006 with a list price of $109.95 for the DC version. I ordered mine through a local hobby shop with plans to detail and install DCC.
Why did I choose this model from an obscure short line in western New York state? I worked for the LA&L for 3 weekends in the summer of 1990 until my college course workload prevented me from spending my Saturday’s on their track gang. I believe I even had a cab ride in number 424.
Fourteen years later, this locomotive was now unassembled on my workbench. Atlas’s version was a close replica, but due to industry practices at the time the manufacturer created models that generally adhered to the specific “Phase” (in my case phase 2), so not everything was a match. Some minor bodywork and paint were necessary to address a couple of obvious details that stand out on the real locomotive, making it a distinctive piece of LA&L equipment. Additionally, the Classic series was not plumbed for sound. I had to have the rear weight milled, drilled, and filed to fit a speaker.
Is my model an exact duplicate of the prototype? Not quite. There are things that would require extensive bodywork which I didn’t feel I could successfully achieve.
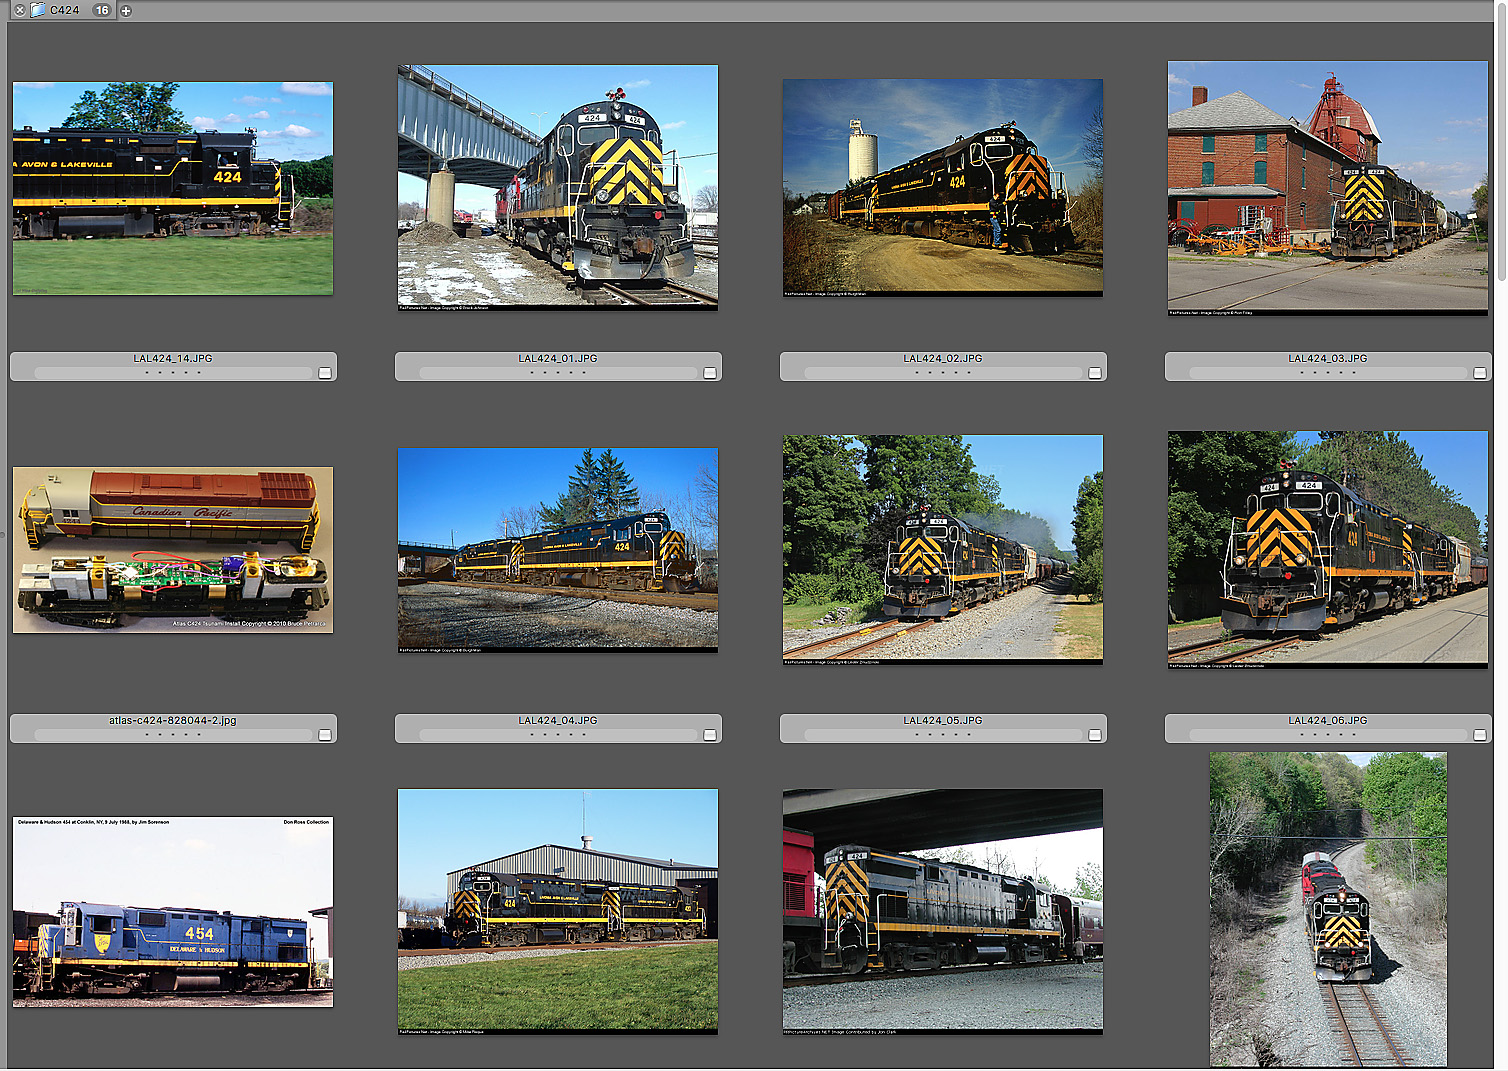
In addition to a SoundTraxx decoder, I used many images sourced from the internet (above) to place the following details.
- Modified fuel tanks
- Exhaust stack
- Rearview mirrors
- Sun visors
- Air intake shields
- Sand hatch
- Snowplows
- Windshield wipers
- Wheel slip detectors
- Speed recorder
- Chain/chain guide
- Radio antenna
- Bell
- Fuel filter
- Air horns
- Working front/rear ditch lights
 Rich Randall has been working on an O scale
 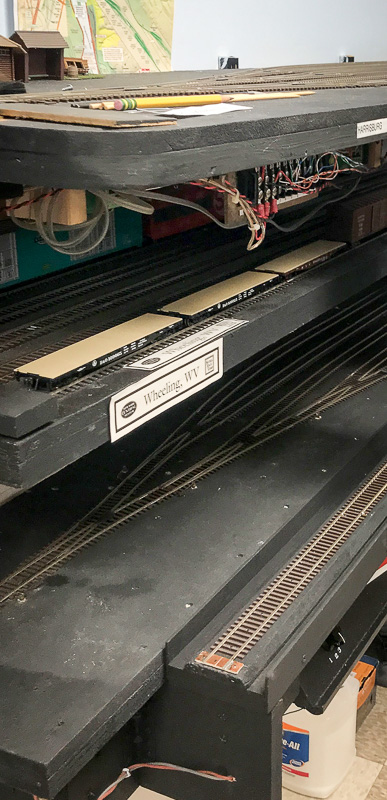 I have three staging yards (left) along one wall of my layout room stacked one above the other and the 4-yard panels for the three staging yards are similar for each yard. Each panel has a rotary switch to choose the proper staging track. This makes picking a staging track pretty straight forward for my operating crews at the Pittsburgh & South Pennsylvania (P&SP) RR.
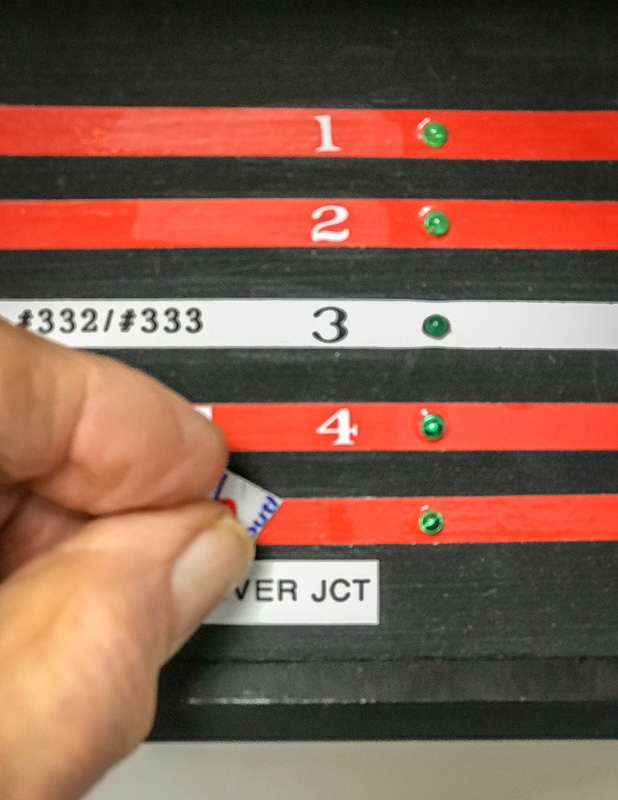 Making the change was rather easy. I used a piece of an old credit card to remove the dry transfer labeling (left) from the track and rotary switch areas and I repainted the rotary switch area.
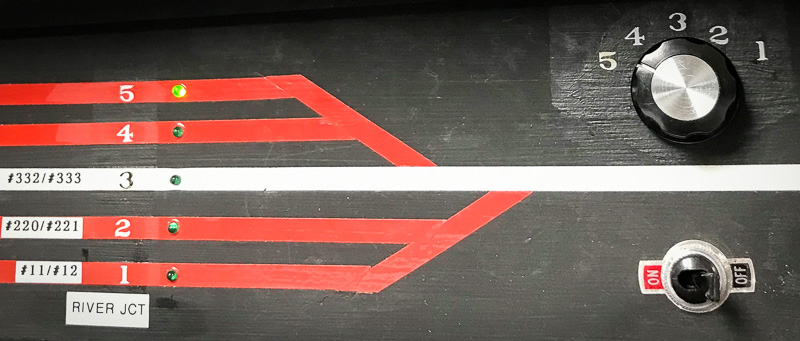 I waited a day to let the new paint around the rotary switch area dry. The dry transfers were applied and then over-sprayed with dull cote (below) to protect them.
 M
M Jay and his crew have done a lot of work this year. Find Jay online at