
 By Tom Fedor
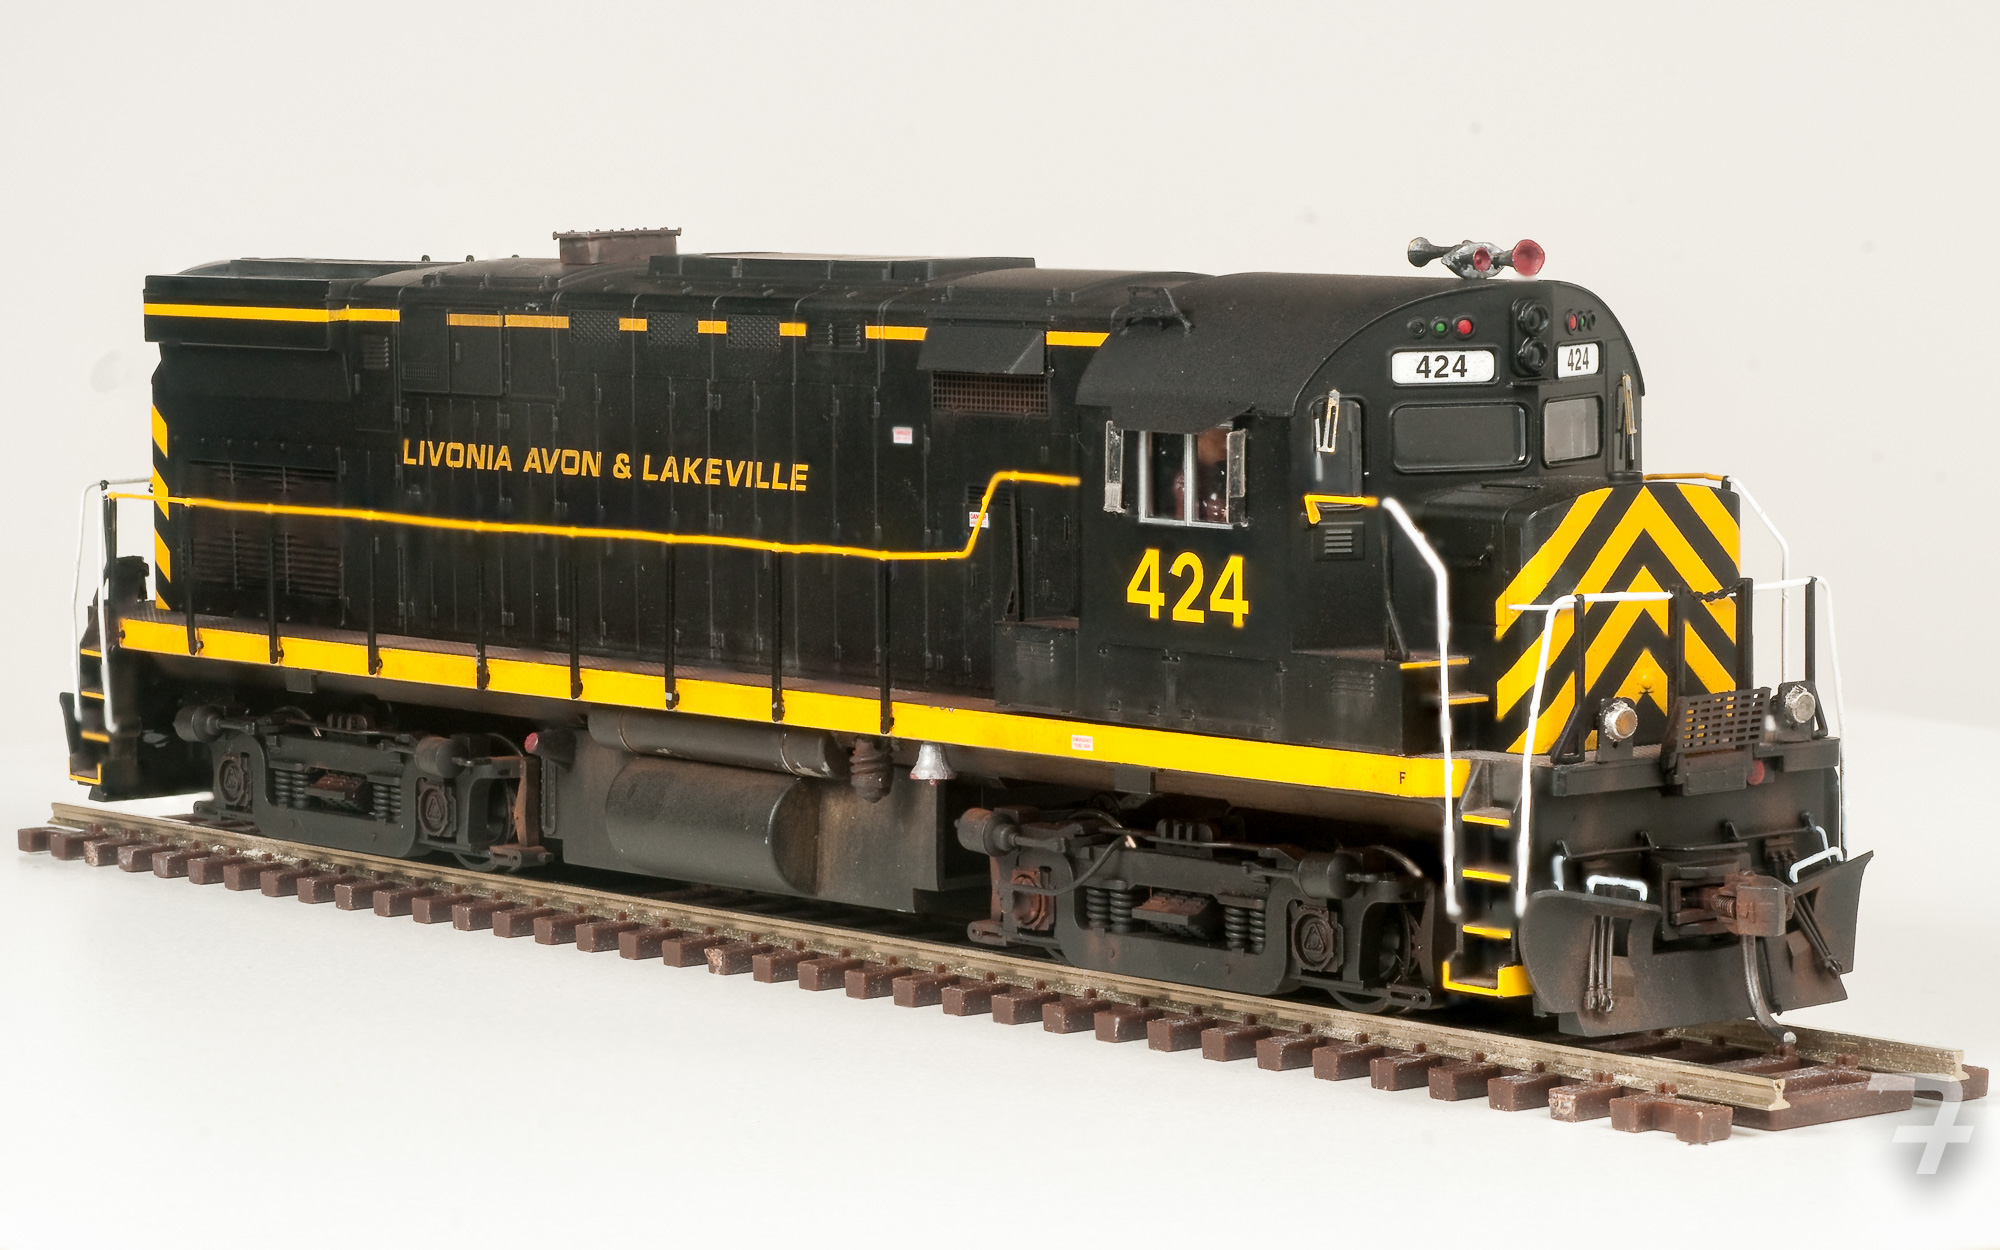
This summer I finally completed detailing and upgrading my Atlas Classic HO scale C-424 Phase 2 Locomotive, modeled after the Livonia Avon & Lakeville’s (LA&L) diesel number 424.
Atlas Model Railroad Company released the model in 2006 with a list price of $109.95 for the DC version. I ordered mine through a local hobby shop with plans to detail and install DCC.
Why did I choose this model from an obscure short line in western New York state? I worked for the LA&L for 3 weekends in the summer of 1990 until my college course workload prevented me from spending my Saturday’s on their track gang. I believe I even had a cab ride in number 424.
Fourteen years later, this locomotive was now unassembled on my workbench. Atlas’s version was a close replica, but due to industry practices at the time the manufacturer created models that generally adhered to the specific “Phase” (in my case phase 2), so not everything was a match. Some minor bodywork and paint were necessary to address a couple of obvious details that stand out on the real locomotive, making it a distinctive piece of LA&L equipment. Additionally, the Classic series was not plumbed for sound. I had to have the rear weight milled, drilled, and filed to fit a speaker.
Is my model an exact duplicate of the prototype? Not quite. There are things that would require extensive bodywork which I didn’t feel I could successfully achieve.
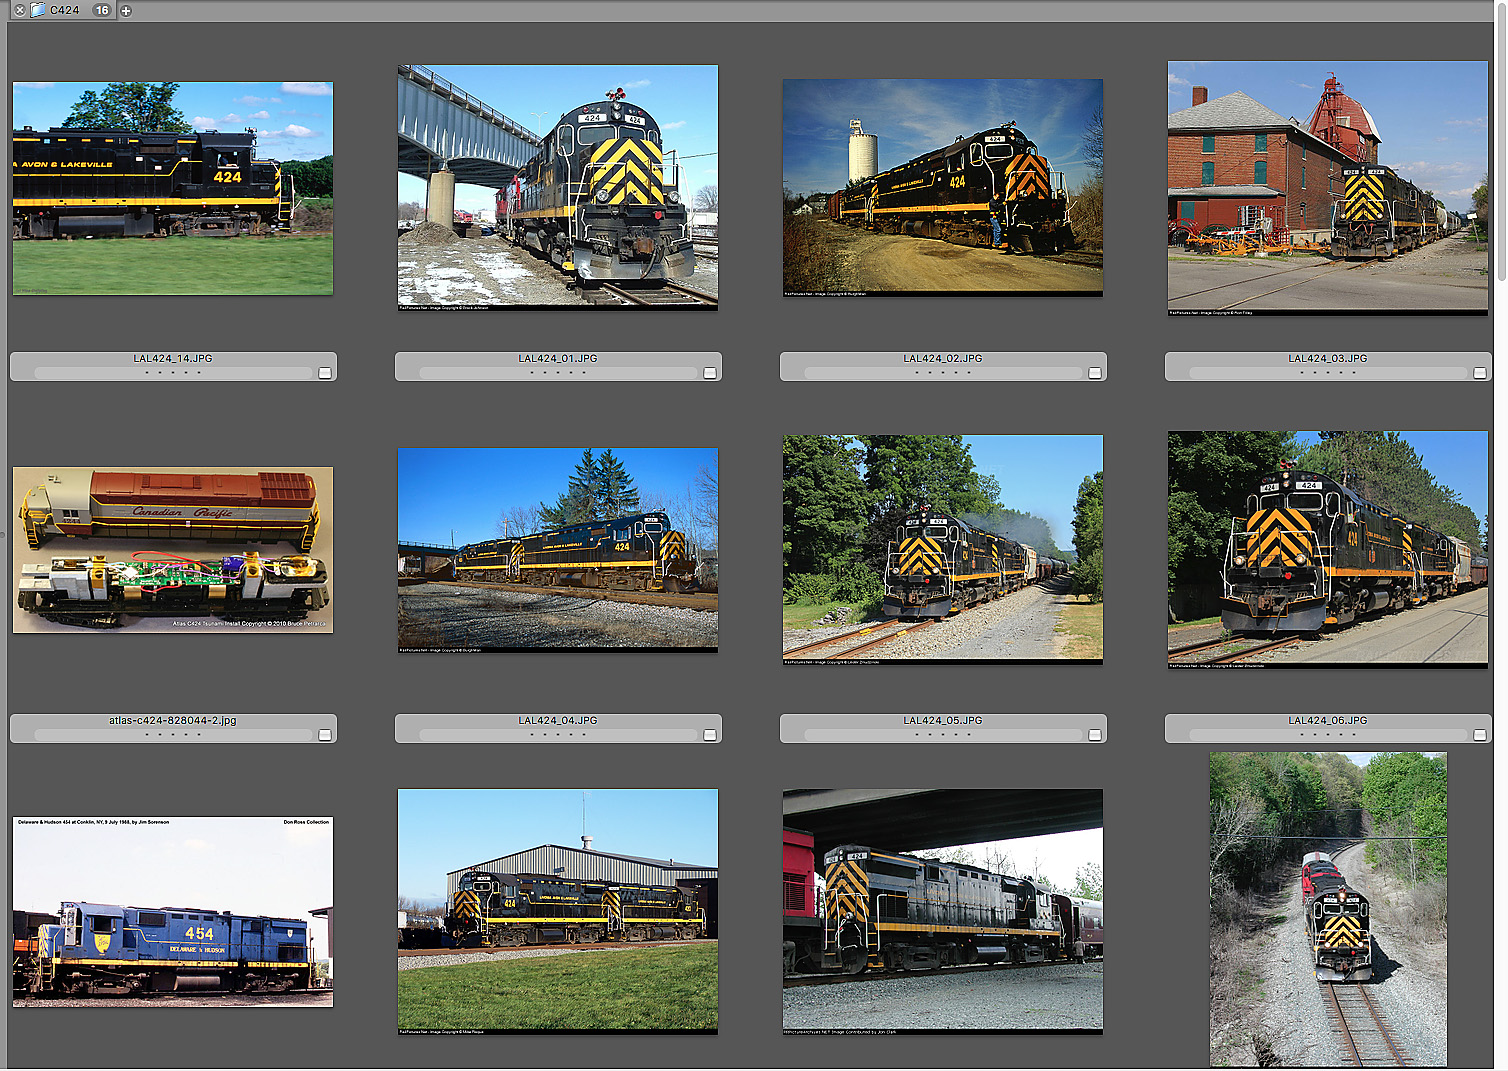
In addition to a SoundTraxx decoder, I used many images sourced from the internet (above) to place the following details.
- Modified fuel tanks
- Exhaust stack
- Rearview mirrors
- Sun visors
- Air intake shields
- Sand hatch
- Snowplows
- Windshield wipers
- Wheel slip detectors
- Speed recorder
- Chain/chain guide
- Radio antenna
- Bell
- Fuel filter
- Air horns
- Working front/rear ditch lights
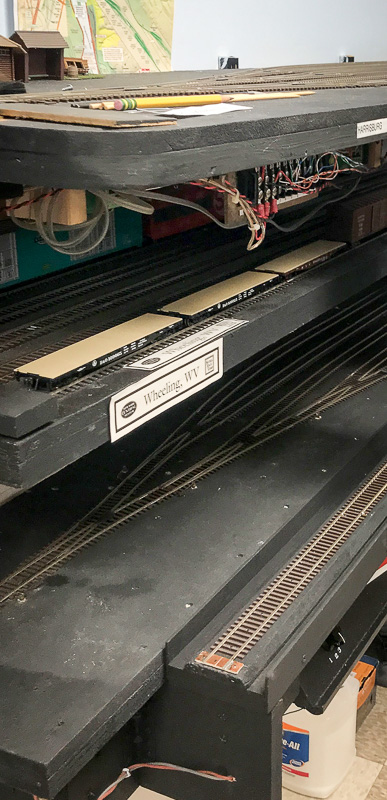 I have three staging yards (left) along one wall of my layout room stacked one above the other and the 4-yard panels for the three staging yards are similar for each yard. Each panel has a rotary switch to choose the proper staging track. This makes picking a staging track pretty straight forward for my operating crews at the Pittsburgh & South Pennsylvania (P&SP) RR.
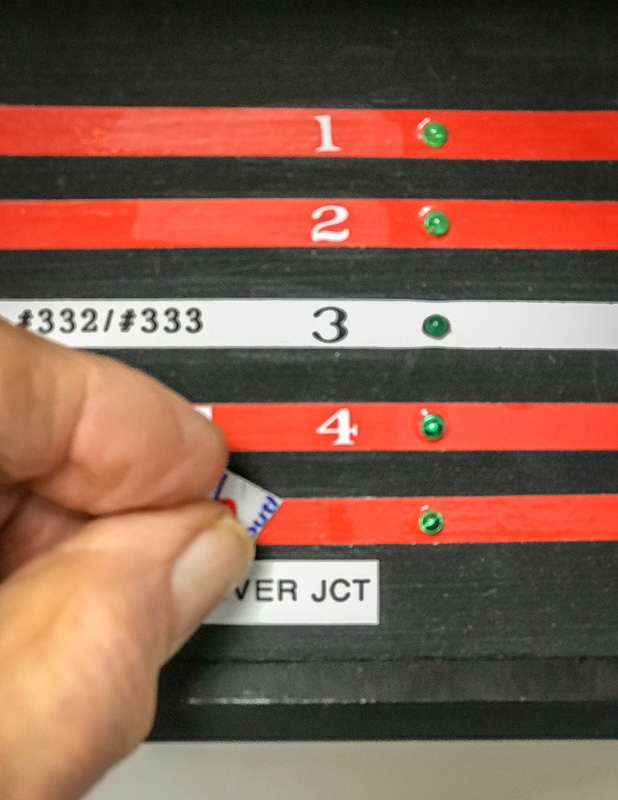 Making the change was rather easy. I used a piece of an old credit card to remove the dry transfer labeling (left) from the track and rotary switch areas and I repainted the rotary switch area.
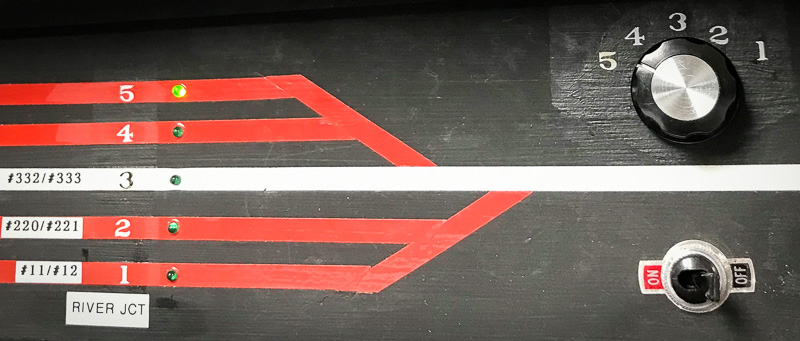 I waited a day to let the new paint around the rotary switch area dry. The dry transfers were applied and then over-sprayed with dull cote (below) to protect them.
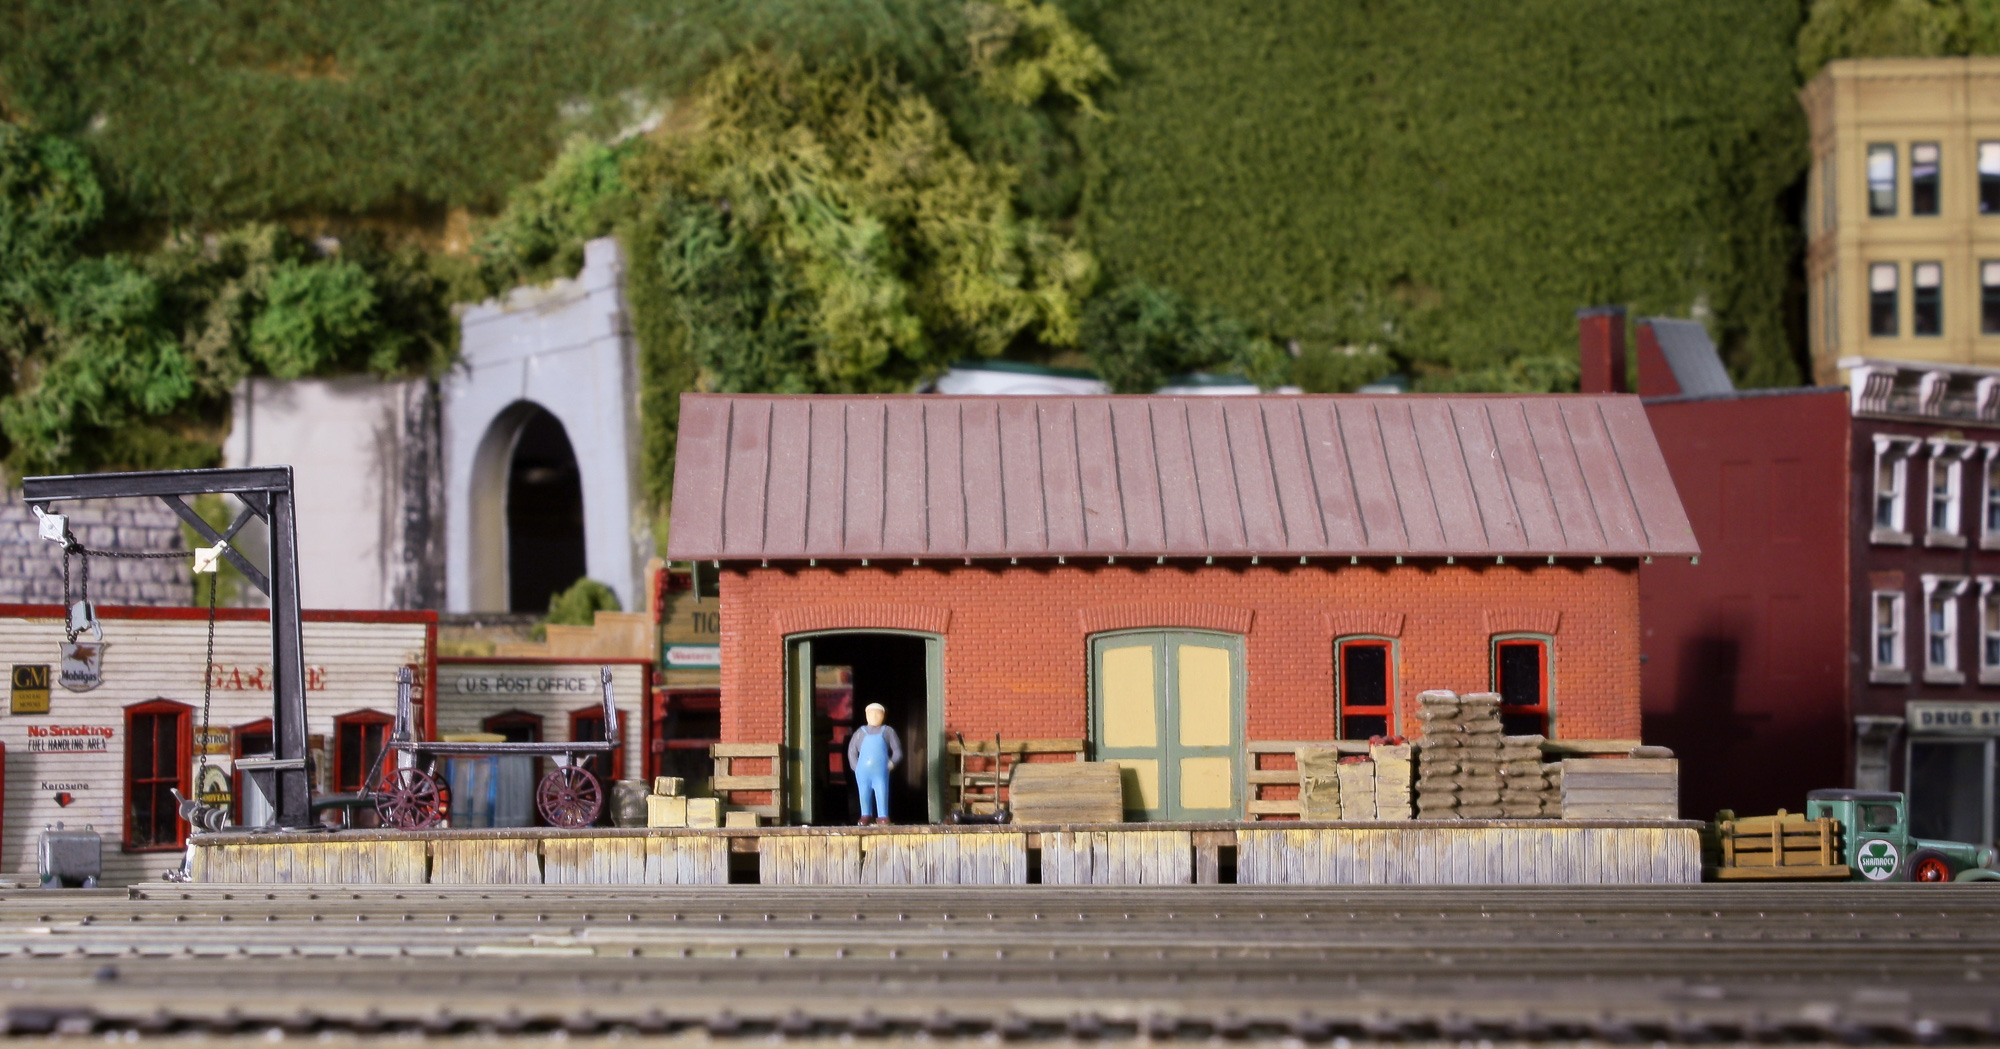 Photography and essay by
  Through this hobby, I am reminded that modern America was not borne out of Silicon Valley, but from workers and tycoons during the late 19th and first half of the 20th century in towns like Bethlehem, Pittsburgh, and Baltimore. For those of us interested in steel mills, coal mines, lumber mills and heavy industrial enterprises, research helps us dive deeper into the reality of that time. It’s important to learn about the organization of work in pre-internet America
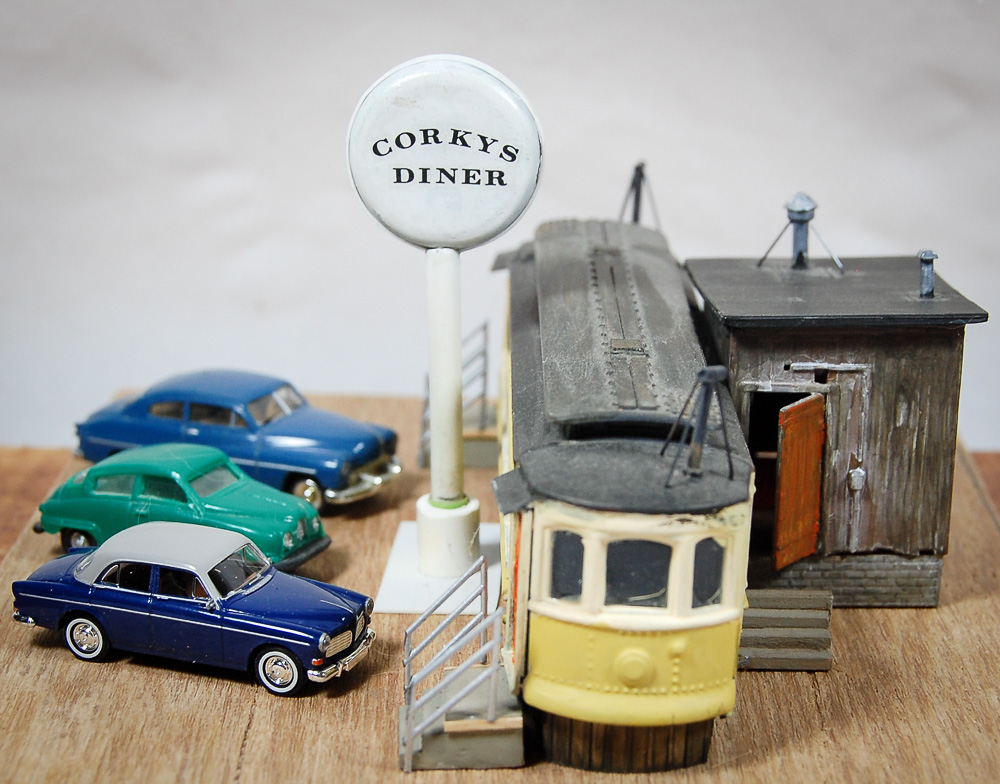
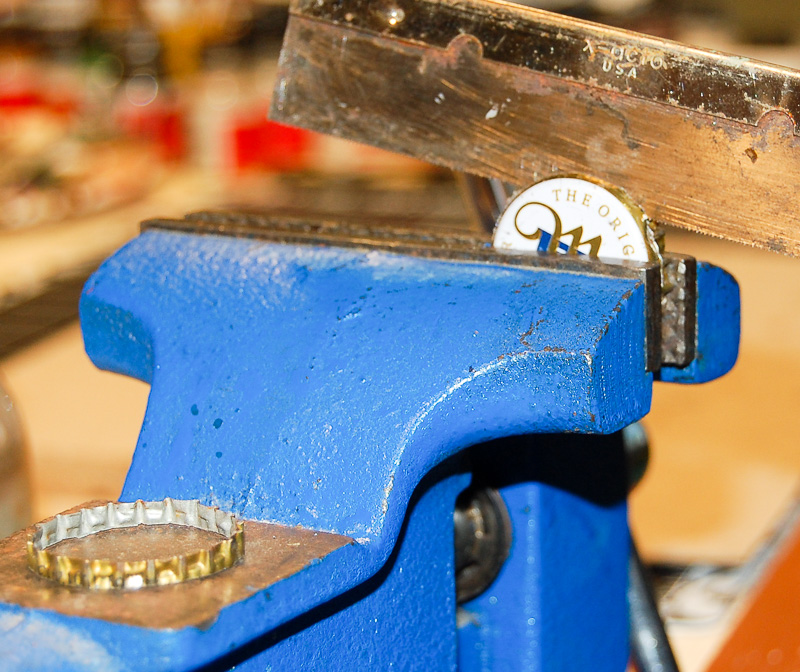 As the pics show, the knurled apron of the cap can be sawn off in a vise. It is necessary though to put a spacer within the cap in order not to pinch the saw blade. The cap must be rotated as one cuts through it so as not to cut into the spacer.
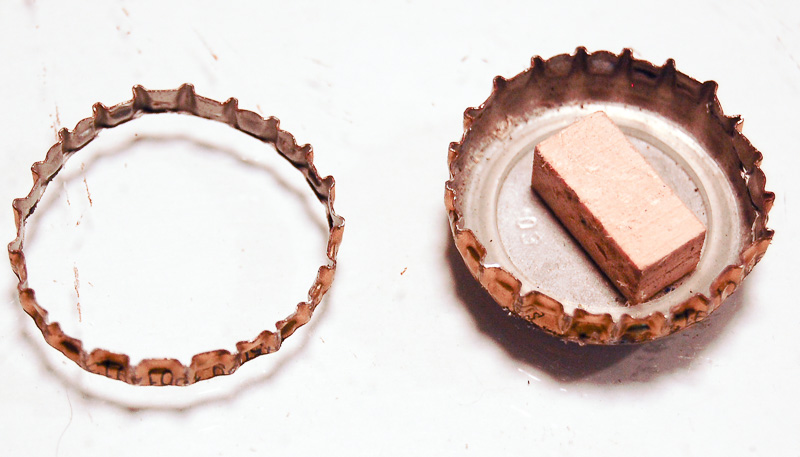 When two bottle caps have been so prepared, a notch for the pole is filed in the lip and they can then be joined back to back using a wood or styrene filler piece. The seam between the halves can be covered with a strip of styrene or filled with putty or both. For lettering I used dry transfers, as I don’t as yet have the capability of making my own decals. Learning to print decals will be yet another project. Never a shortage of things to learn and/or do in this hobby.